In this blog, we will show you the complete process of how to install the WooCommerce plugin, creating a store with the WooCommerce plugin, and configure your settings, so you can begin adding products.
WooCommerce is now the most popular plugin on WordPress for creating a store because of its great flexibility and variety of supported plugins available to customize your store.
Another great reason for choosing the WooCommerce plugin is that it’s easy to install and manage, even a non-technical person can manage a store on its own. It’s very easy to add or edit a product in WooCommerce and manage orders.
here we will show you the step-by-step guide on how to install and configure WooCommerce. So let’s get started.
- Installing WooCommerce
- Setting up WooCommerce
- Enter store details
- Select product types
- Business details
- Choosing the theme
- WooCommerce recommended plugins
- Final Step Customize your store
1. install WooCommerce
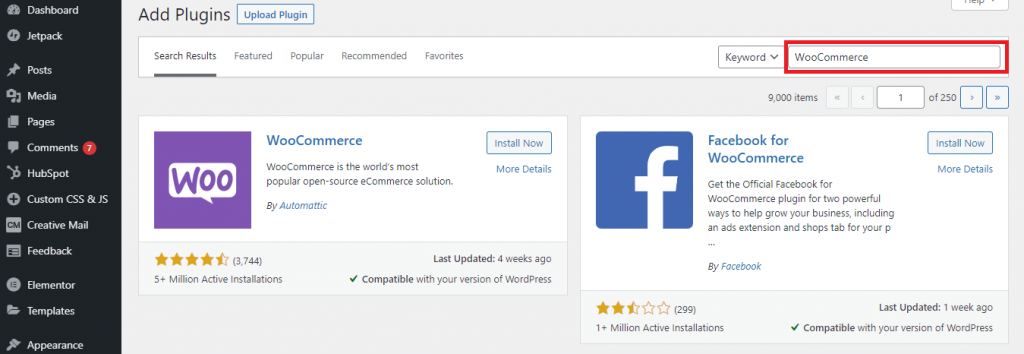
For Installing WooCommerce go to your WordPress dashboard and in the plugin, menu Click on Add New. This will take you to the plugin search window. In the search bar enter “WooCommerce” and hit enter. From the search results Choose WooCommerce and click on Install Now button.

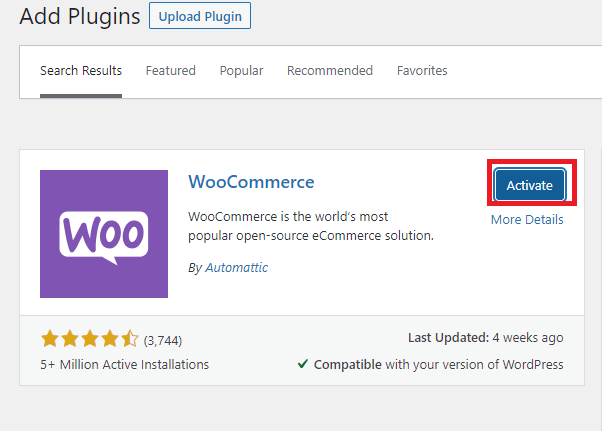
2. Setting up WooCommerce
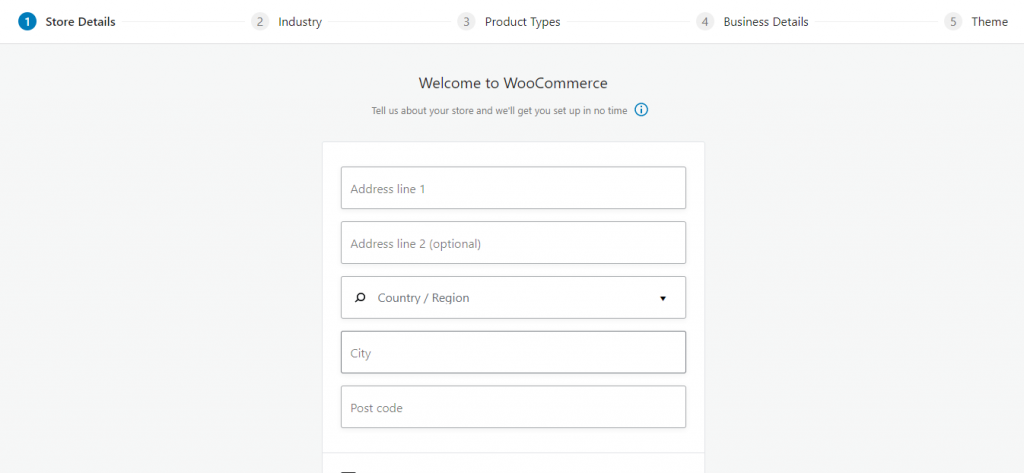
Once the installation is finished the next step is to set up the WooCommerce. The easy startup wizard will help you in installation. In the first step enter the following details of your store
- Store Address
- Country
- city
- Post code
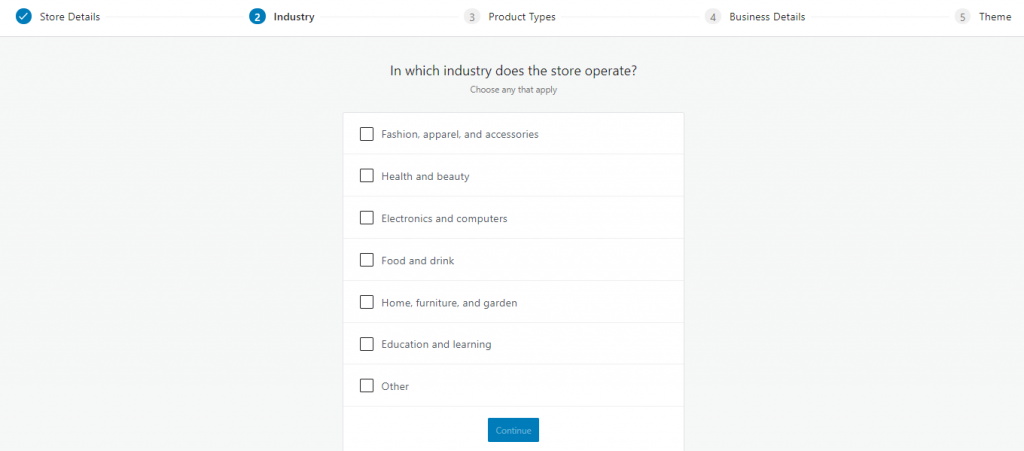
3. Enter store details
In the next step enter the basic details of your store. Select the store industry, either its fashion, medical or an Electronic, etc.
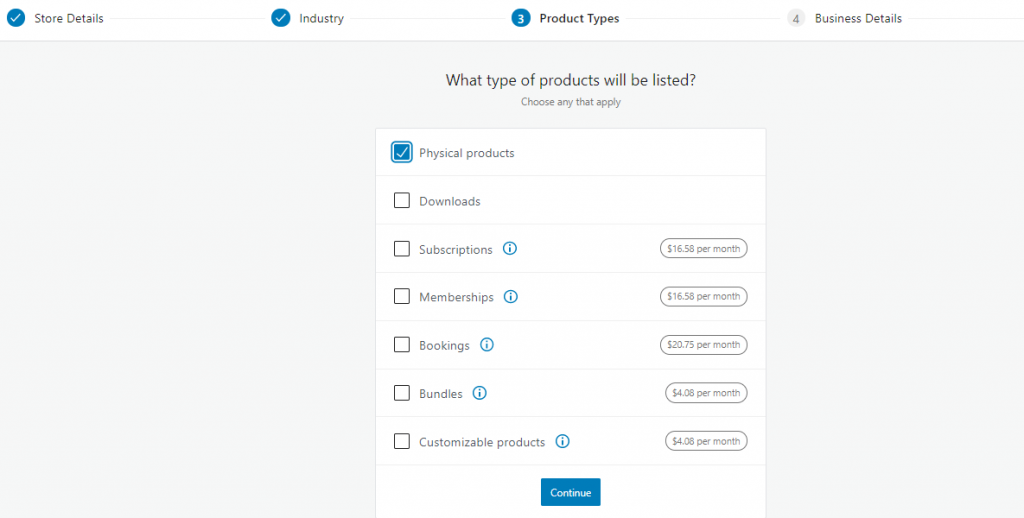
4. Select product types
In this step select the product types. You can select from these options.
- Phusical Products
- Downloads
- Subscriptions
- Memberships
- Bookings
- Customizeable products
install WooCommerce
The first two are included in the free version of WooCommerce, for the rest you have to buy the Premium version of the WooCommerce plugin
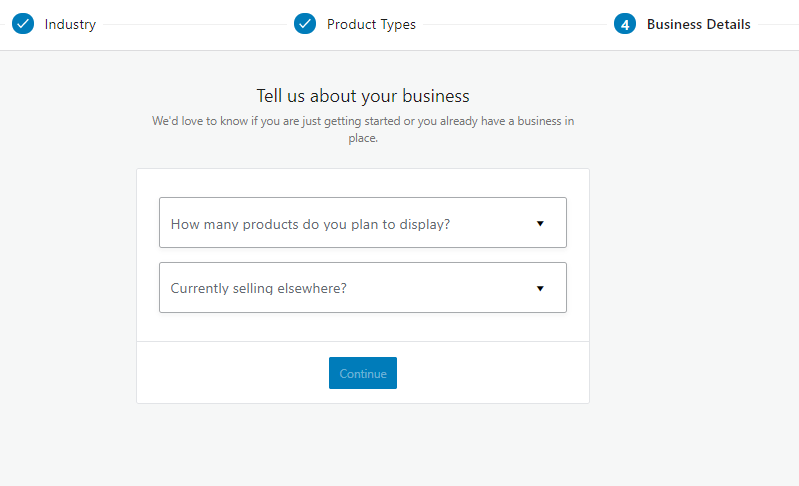
5. Business details
n this second last step you have to enter the information about your store. This information includes the details like how many products your store will have and currently you are selling anywhere?
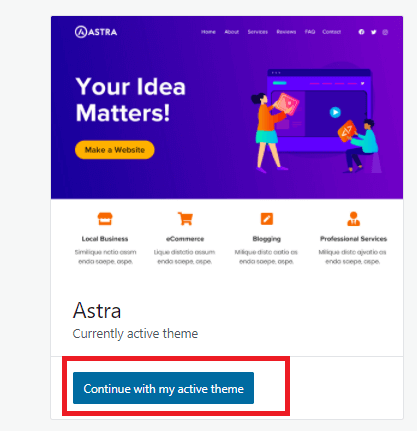
6. Choosing the theme
In this last step, you have to choose the WordPress theme that should support the WooCommerce plugin. You can search Google for “WooCommerce supported WordPress themes“. You will find many paid and unpaid themes that will support WooCommerce. Here WooCommercegives you the option to continue with your default theme, if your current theme support then you can select ‘Continue with my active theme‘ or you can select Storefront which is a famous WooCommerce theme. As our active theme, Astra supports WooCommerce so I continue with the first option.
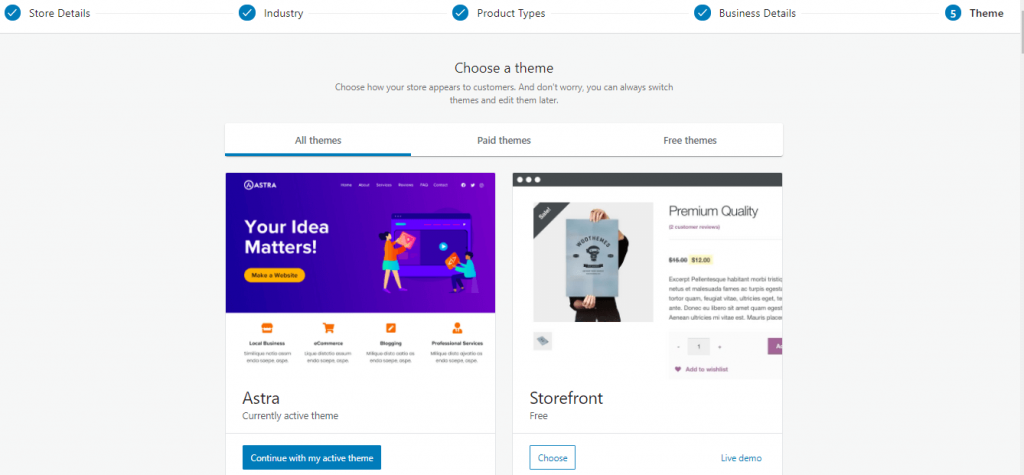
This website’s active theme, Astra supports WooCommerce so continue with the first option.
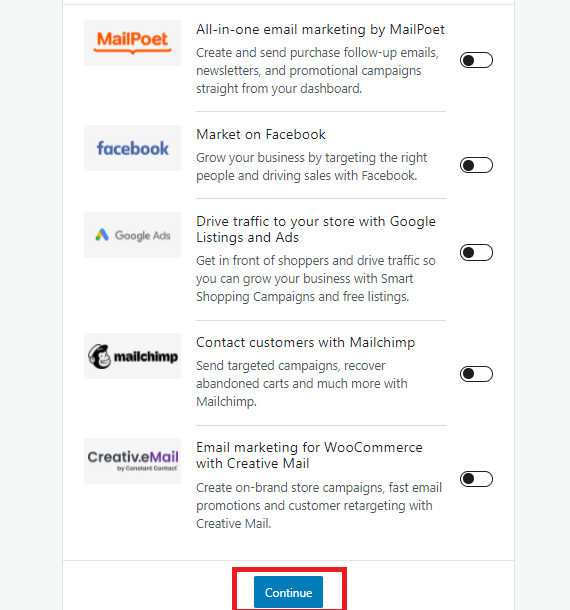
7. WooCommerce recommended plugins
Here WooCommerce will show you the list of some important plugins that will help you in your store marketing. These are the recommended ones, you can select them or skip them for now and install them later.
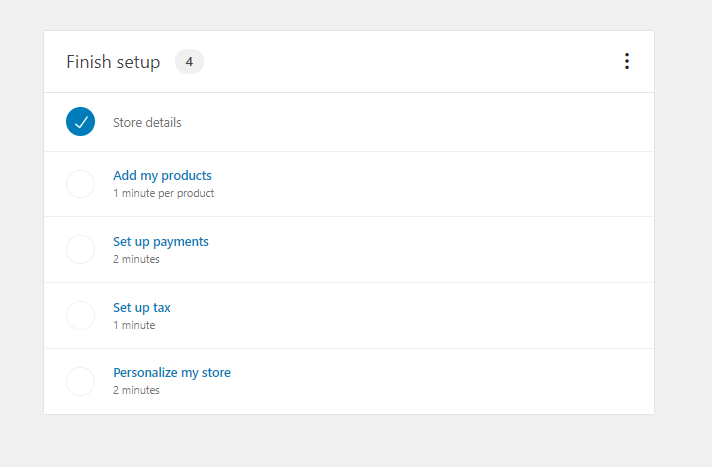
8. Finish install WooCommerce & Customize your store
After performing all the above steps, now it’s time to add products and set up your store details. First of all, you need to set up the payments and tax information for your store. We recommended adding multiple payments options for ease of your customers.